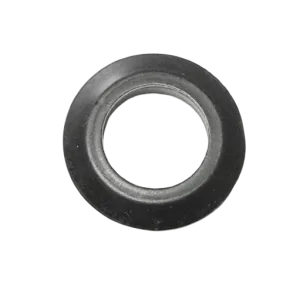
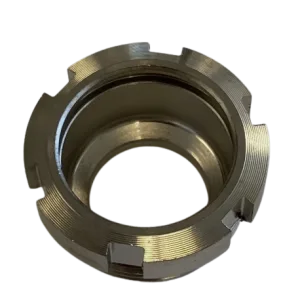
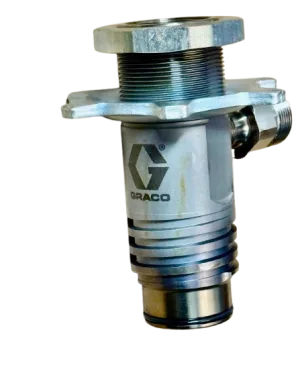
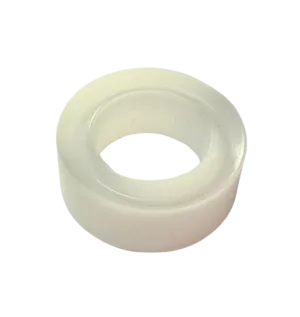
Every Graco airless pump diagram breaks down into the same core groups: the piston rod (moves up and down to create pressure), the cylinder (the hardened sleeve the piston travels inside), the inlet and outlet valves with their check balls (control fluid direction), and the packings and gland seals (prevent pressure loss around the piston). Learning to recognize these five groups on any diagram — regardless of model — is what makes ordering the right part fast instead of guesswork.
The pump is the heart of any airless sprayer — and also the part owners are least familiar with, since it's sealed inside the housing during normal use. This guide walks through the pump diagram visually, group by group, using real reference numbers and real part numbers from an actual Graco displacement pump breakdown, so the internal components stop being a mystery.
1. The Anatomy of an Airless Pump
Every Graco airless pump works on the same basic principle: a motor or gas engine drives a piston rod up and down inside a hardened cylinder. That motion pulls paint in through an inlet valve on the downstroke and forces it out through an outlet valve on the upstroke, building enough pressure to atomize the coating at the tip. Most professional Graco pumps operate up to 3,300 PSI.
Piston Rod
The moving component. Travels vertically to generate suction on the way down and pressure on the way up. Wears from friction against the cylinder wall.
Cylinder / Cylinder Sleeve
The stationary, hardened tube the piston moves inside. Provides the wear surface — a scored or worn cylinder causes pressure loss even with a new piston.
Inlet & Outlet Valves
Check-ball valves that control fluid direction — inlet lets paint in, outlet directs pressurized paint toward the hose. Each has a ball, seat, and housing.
Packings & Gland Seals
Prevent pressure loss and leaking around the piston rod. The most frequently replaced pump component, since they wear continuously during normal operation.
2. Real Diagram Callouts, Decoded
Here's a sample of actual reference numbers from a real Graco displacement pump breakdown, matched to their genuine part numbers — the same structure you'll see on any pump-specific diagram on this site.
| Component | Part Number |
|---|---|
| Button Plug (pressure-rated, prevents prime valve chatter) | 180656 |
| Packing Nut | 193047 |
| Pump Cylinder (stainless bore, honed for reduced packing wear) | 24W619 |
| Female Gland Packing | 176757 |
| Male Gland Packing | 176754 |
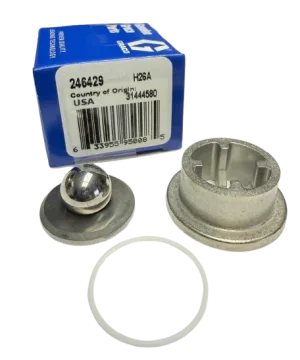
| Inlet Valve & Carbide Seat Kit | 246429 |
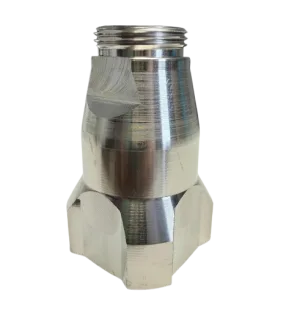
| Intake Valve Housing | 15B611 |
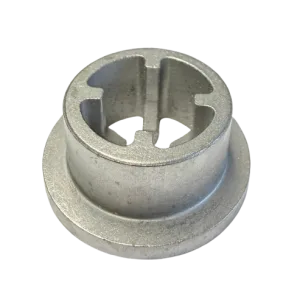
| Inlet Ball Cage | 15C011 |
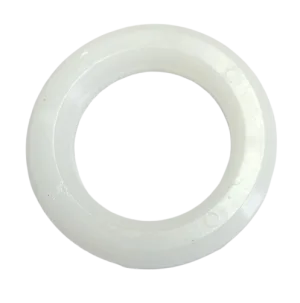
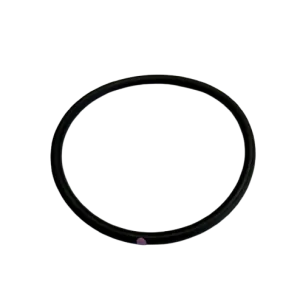
| O-Ring Packing | 17V093 |
Notice the pattern from the earlier anatomy section holds here too: cylinder and piston-related parts belong to one functional group, while valve and packing components belong to another. Once you recognize which functional group a symptom points to, you can scan the matching section of any pump diagram instead of reading the whole thing top to bottom.
3. Matching Symptoms to Pump Components
| Symptom | Likely Component |
|---|---|
| Loss of pressure, gradual | Worn packings or gland seals |
| Fluid leaking from the front of the sprayer | Packing nut or gland packing failure |
| Pump won't prime | Inlet valve ball or seat stuck/worn |
| Pulsing or uneven pressure | Outlet valve ball or seat, or a scored cylinder |
| Grinding or unusual noise from the drive | Piston rod or cylinder wear — inspect both together |
Pump components wear as a system, not in isolation. A worn piston rod often means the cylinder has scoring too, even if it looks fine at a glance. When replacing one, it's worth inspecting — and often replacing — the parts it works directly against.
4. Repair Kit vs. Individual Part
Most Graco displacement pumps are designed to be rebuilt using a repair kit that bundles the packings, seals, valves, and springs that typically wear together, rather than buying each piece separately. This is usually both cheaper and more complete than a single-part order, since packings in particular should be replaced as a full set to keep wear even across the assembly.
If you've already identified a single failed component — a cracked button plug, a specific worn ball — and the rest of the pump is in good condition, ordering just that part is the faster and cheaper fix. Kits earn their value when multiple components show wear at once.
5. What Actually Extends Pump Life
- Flush thoroughly after every use. Dried paint inside the pump accelerates wear on packings and valve seats faster than almost anything else.
- Replace packings before they fail outright. As a general guideline, packings are often serviced every 100-200 gallons sprayed, though this varies by coating and pressure.
- Store with Pump Armor for any gap longer than a few days — dried-out packings are one of the leading causes of a pump that won't prime after storage.
- Strain material before spraying. Debris that reaches the valve balls and seats causes premature wear on components that otherwise last years.
Ready to Find Your Pump Part?
Search by your machine model for the exact diagram, or browse the full pump and repair kit category directly.
Search by Parts Diagram Browse Pumps & Repair KitsFrequently Asked Questions
What are the main parts shown on a Graco pump diagram?
The piston rod, cylinder, inlet and outlet valves with their check balls, and the packings and gland seals. Together these form the displacement pump that pressurizes paint for spraying.
What's the difference between a piston rod and a pump cylinder?
The piston rod is the moving part creating suction and pressure. The cylinder is the stationary hardened tube it travels inside. The piston wears from friction; the cylinder wears from the piston sliding against its surface.
How often do pump packings need to be replaced?
Often every 100-200 gallons sprayed as a general guideline, though this varies with coating type and pressure. Loss of pressure or leaking from the front of the sprayer are the clearest signs.
Can I rebuild a Graco pump myself using a repair kit?
Yes — most Graco displacement pumps are designed to be rebuilt with a kit bundling packings, seals, valves, and springs. Following the specific diagram and manual for your pump helps avoid missing a step.