


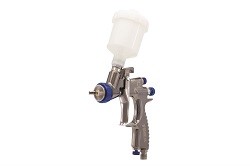
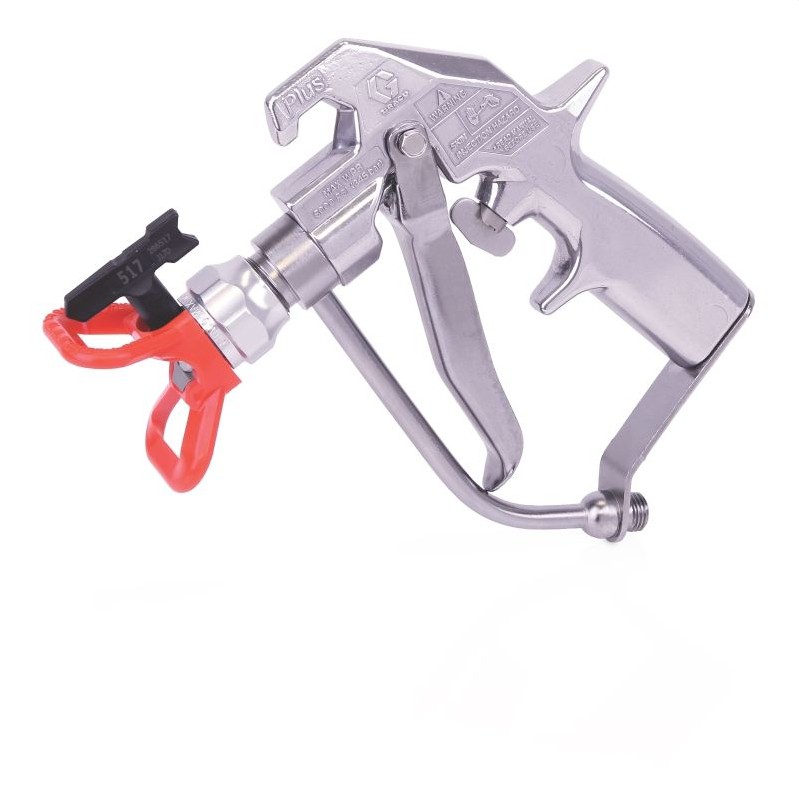
Keeping your spray gun in excellent condition ensures consistent performance, saves money, and extends its lifespan. Whether you use it for automotive painting, furniture finishing, or DIY projects, regular maintenance is essential. This guide walks you through each step to keep your spray gun performing like new.
Why Cleaning Your Spray Gun Is Important
Over time, paint residue, dirt, and moisture build up inside your spray gun—causing clogging, uneven spray patterns, and even permanent damage. Proper cleaning after each use prevents these issues, ensuring smooth performance and longevity.
A well-maintained spray gun reduces paint waste, provides flawless finishes, and minimizes long-term repair costs.
Tools and Materials You’ll Need
Gather these items before starting the cleaning process:
- Cleaning solution or solvent (compatible with your paint type)
- Cleaning brushes or a spray gun cleaning kit
- Soft cloths or paper towels
- Wrench or spanner (for nozzle removal)
- Compressed air (optional, for faster drying)
- Lubricating oil (for maintenance)
Step-by-Step Guide: Cleaning Your Spray Gun
Follow these steps to keep your spray gun in perfect condition:
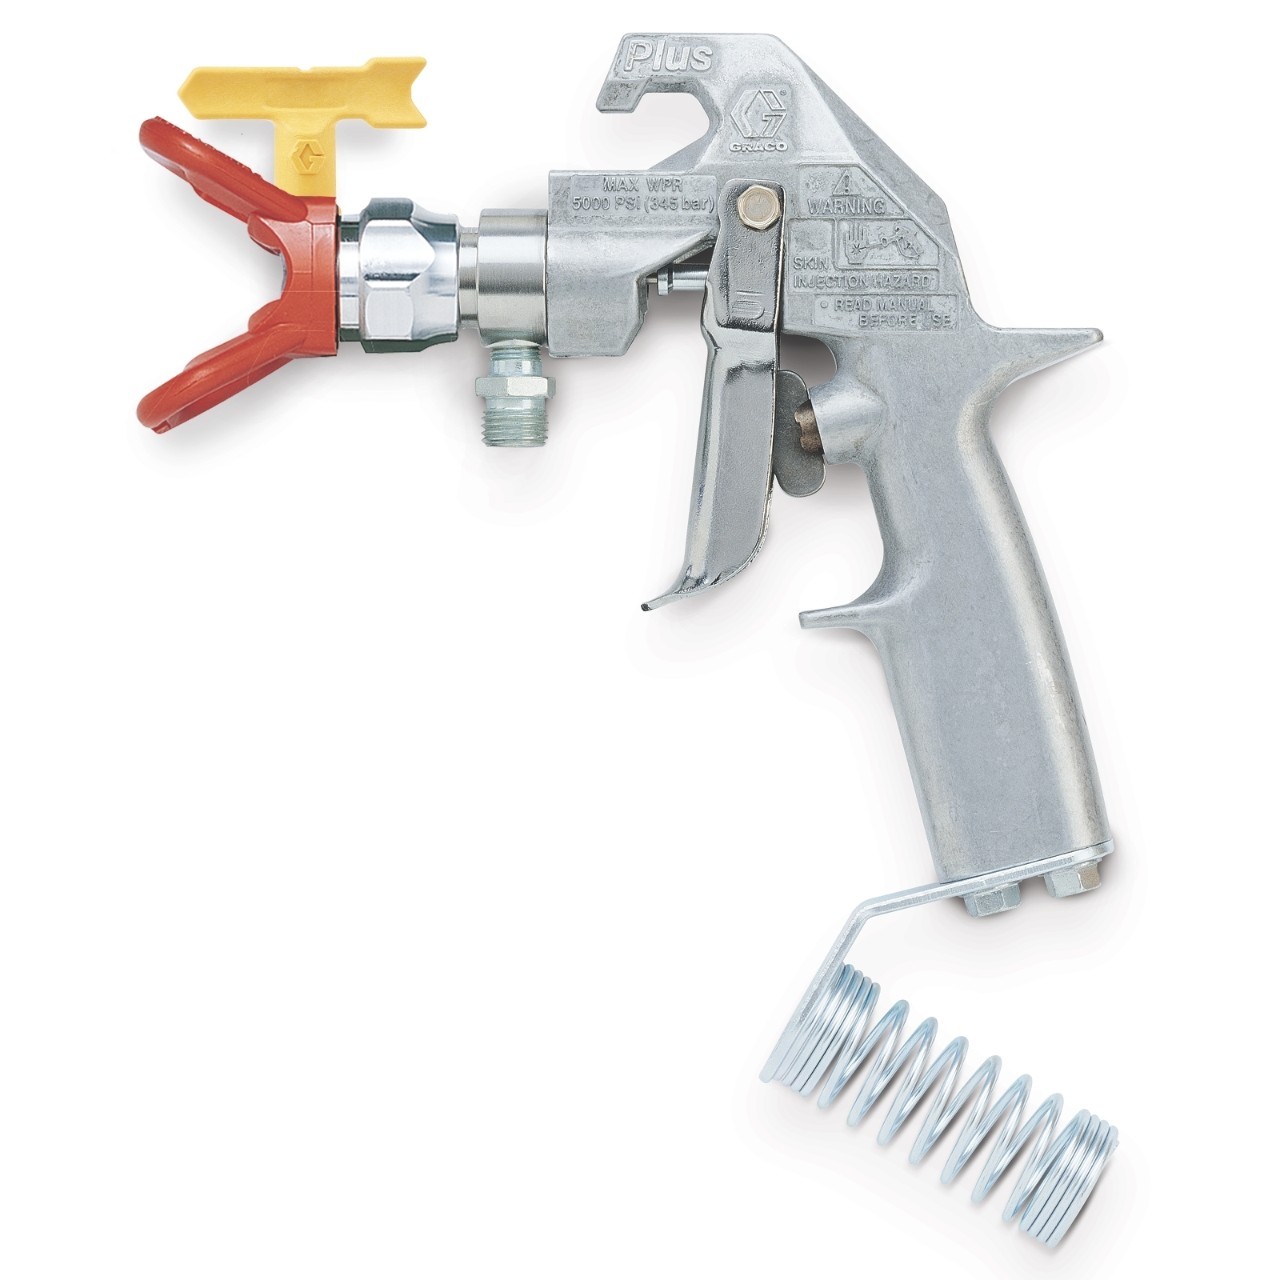
Step 1: Disassemble the Spray Gun
Disconnect the air supply, remove the paint cup, and carefully take apart the nozzle, needle, and air cap. Keep small parts organized.
Step 2: Empty and Rinse the Paint Cup
Pour out leftover paint and rinse with the correct solvent—water for water-based or thinner for oil-based paints. Wipe dry with a clean cloth.
Step 3: Clean the Nozzle and Needle
Soak these parts in cleaning solution for a few minutes, then scrub gently with brushes or swabs to remove buildup.
Step 4: Flush Internal Passages
Pour a small amount of solvent into the gun’s fluid passage and pull the trigger to flush. Repeat until the spray runs clear.
Step 5: Dry and Reassemble
Dry all parts using compressed air or a towel. Reassemble carefully, tightening just enough to secure without over-tightening.
Step 6: Lubricate Moving Parts
Apply a few drops of lubricant to the trigger, needle, and moving joints to ensure smooth operation and prevent rust.
How Often Should You Clean Your Spray Gun?
Clean your spray gun thoroughly after every use. If you’re using the same paint and color throughout the day, a quick rinse between jobs is enough. Perform a deep clean when switching colors, changing paint types, or before storing the gun for a while.
Maintenance Tips for Long-Lasting Performance
- Store properly: Keep in a clean, dry place.
- Inspect regularly: Check seals, gaskets, and the air cap for damage.
- Use clean air: Add a moisture trap to prevent rust from compressor moisture.
- Avoid soaking the whole gun: Only soak removable parts.
- Replace worn parts: Swap nozzles or needles if spray patterns become inconsistent.
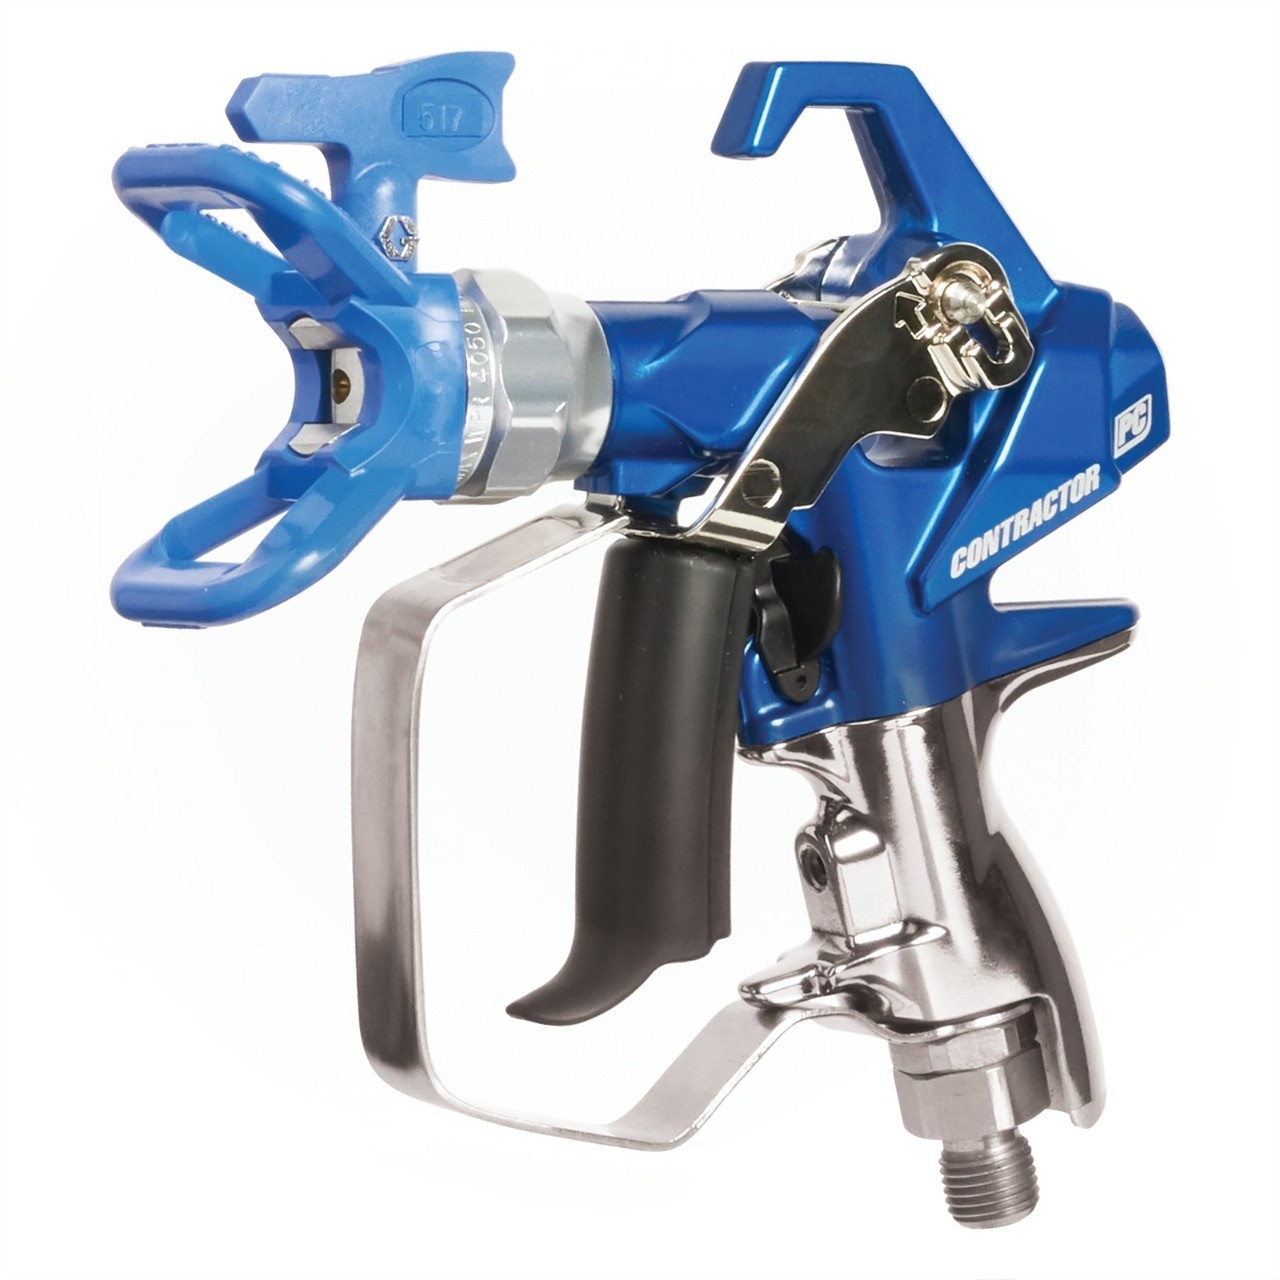
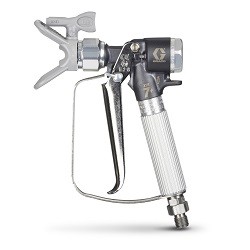
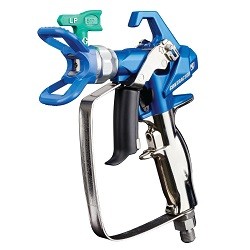
Recommended Spray Gun Cleaning Products
Explore these top-rated cleaning kits, solvents, and accessories for easy maintenance:


Common Cleaning Mistakes to Avoid
- Using the wrong solvent for your paint type
- Ignoring the air cap and needle during cleaning
- Over-tightening parts on reassembly
- Skipping lubrication after cleaning
- Leaving paint overnight — dried residue can permanently clog passages