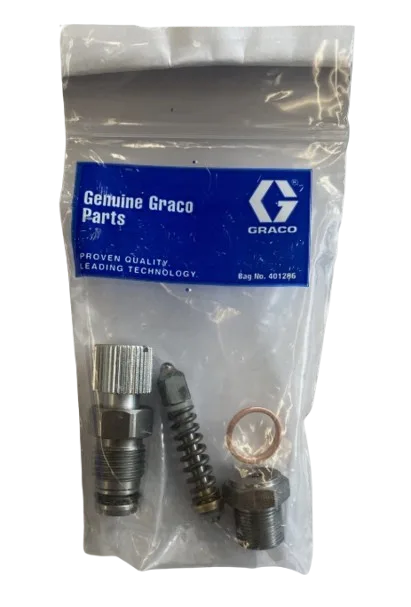
Graco 244162 Spray Valve Repair Kit
$82.37
$117.00
Save 30%
Available to Order
The Graco 244162 Spray Valve Repair Kit is designed to restore the performance of the CleanShot® Shut-Off Valve, eliminating paint spitting and ensuring a smooth spray finish. Ideal for maintaining precise control when using extensions or pole guns.
- Fits: CleanShot® Valve Models 287030 & 256932
- Max Pressure: 3600 PSI (248 bar)
- Thread: 1/4" NPSM Inlet • 7/8" UNF Outlet
- Use With: Ultra Max II, GMAX II, Mark V, Mark X, LineLazer systems (with CleanShot® valve)
- Purpose: Stops end-of-stroke spitting and improves finish quality
Quantity
Genuine OEM Part
Fast Shipping (Order by 1 PM CST)
Easy Returns
Graco 244162 Spray Valve Repair Kit — CleanShot® Service Kit
Compatible Machines
- Airless sprayers fitted with a CleanShot® valve on extensions/guns
- Ultra Max II 395 / 495 / 595 / 695 / 795 / 1095 / 1595 (when equipped with CleanShot®)
- GMAX II 3900 / 5900 / 7900 (with CleanShot® on gun/extension)
- Mark V / Mark X HD & ProContractor (when using CleanShot® on extension poles)
- LineLazer rigs using extensions/guns with a CleanShot® valve
- Most Graco spray extensions (7/8" UNF tip-guard thread) when paired with CleanShot®
Overview
The Graco 244162 Spray Valve Repair Kit restores sealing and shut-off performance of the CleanShot® Shut-Off Valve. It refreshes internal wear components to stop spit-ting/drips at the end of a pass and to keep a crisp spray fan when using extensions or pole guns.
What’s in the Kit
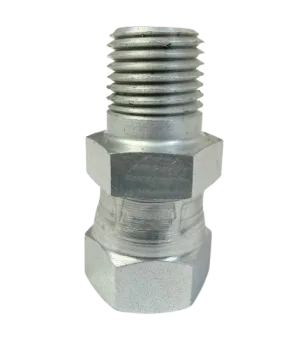
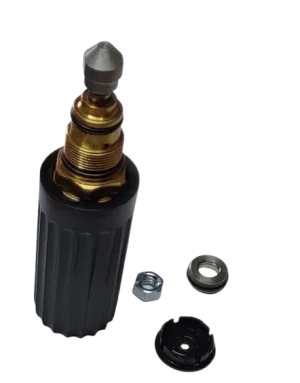
- Valve seat / ball & retainer
- U-cup seals & O-ring packings
- Compression spring, spring guide & dampener
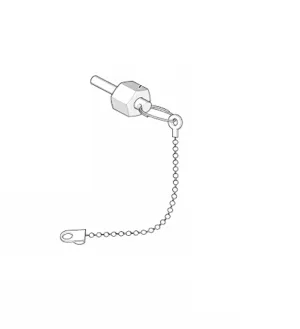
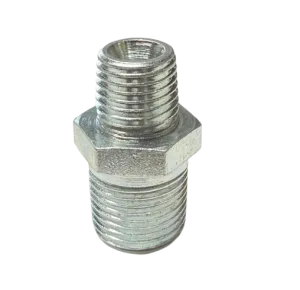
- Retainers, cap and related small hardware
Quick Specs
| Primary Application | Service kit for CleanShot® Shut-Off Valve (models 287030, 256932) |
|---|---|
| Max Working Pressure | 3600 psi (≈ 248 bar) |
| Common System Threads | Inlet to extension: 1/4" NPSM • Outlet/tip-guard side: 7/8" UNF (on the CleanShot® assembly) |
| Use Case | Reduces end-of-stroke spitting, improves edge quality when using spray extensions or pole guns |
| SKU | 244162 |
Install Notes & Pro Tips
- Depressurize sprayer and follow gun/extension lock-out procedures before service.
- Disassemble the CleanShot® valve, replace all seals/seat/springs as provided, lubricate light-ly with compatible oil.
- Observe correct orientation of the U-cup and seat for proper sealing.
- Tighten to manufacturer torque values and pressure-test with water before paint.
- If your setup does not have a CleanShot® valve, this kit will not be applicable.
Frequently Asked Questions
The kit does not install in the sprayer itself; it services the CleanShot® Shut-Off Valve. If your gun/extension uses a CleanShot® (e.g., 287030/256932), 244162 is the correct repair kit.
Look for a compact in-line shut-off assembly between your extension pole and tip guard with a 7/8" UNF outlet. The body is typically marked as CleanShot®/Graco and located at the end of the extension.
Yes—when the CleanShot® valve is correctly rebuilt and adjusted, it significantly reduces spitting/drips at shut-off, improving edge quality and finish uniformity.
The CleanShot® valve assembly serviced by this kit is commonly rated up to 3600 psi. Always verify your specific valve’s rating and stay within your sprayer’s limits.
The CleanShot® valve is most beneficial with extensions/pole guns. If your setup does not include a CleanShot®, this kit is not required.
No reviews yet. Be the first to review this product!